- 구글, 페이스 북 등을 포함한 로그인 기능
- API 접근 인증을 위한 토큰 획득 및 로그인 기능
이 글은 nodejs의 React, Strapi를 이용해 인증을 구현한다. API 사용 인증이나, 다른 인증 제공자(Facebook, GitHub, Google ...)를 이용한 로그인 방법을 다룬다.
프로젝트 개발
우선 Strapi API를 작성한다.
$ npm install strapi@alpha -g
$ strapi new my-app
$ cd my-app && strapi start
$ npm install create-react-app -g
$ create-react-app good-old-react-authentication-flow
이 결과 다음과 같은 폴더가 만들어진다.
/src
└─── containers // React components associated with a Route
| └─── App // The entry point of the application
| └─── AuthPage // Component handling all the auth views
| └─── ConnectPage // Handles the auth with a custom provider
| └─── HomePage // Can be accessed only if the user is logged in
| └─── NotFoundPage // 404 Component
| └─── PrivateRoute // HoC
|
└─── components // Dummy components
|
└─── utils
└─── auth
└─── request // Request helper using fetch
인증 뷰를 구현하려면 먼저 사용자가 특정 URL에 액세스 할 수 있는지 확인하는 HoC( Higher Order Component)를 만들어야 한다. 이를 위해, auth.js를 사용한다.
import React from 'react';
import { Redirect, Route } from 'react-router-dom';
// Utils
import auth from '../../utils/auth';
const PrivateRoute = ({ component: Component, ...rest }) => (
<Route {...rest} render={props => (
auth.getToken() !== null ? (
<Component {...props} />
) : (
<Redirect to={{
pathname: 'auth/login',
state: { from: props.location }
}}
/>
):
)} />
);
export default PrivateRoute;
라우팅을 만들어 본다.
import React, { Component } from 'react';
import { BrowserRouter as Router, Switch, Route } from 'react-router-dom';
// Components
import AuthPage from '../../containers/AuthPage';
import ConnectPage from '../../containers/ConnectPage';
import HomePage from '../../containers/HomePage';
import NotFoundPage from '../../containers/NotFoundPage';
// This component ios HoC that prevents the user from accessing a route if he's not logged in
import PrivateRoute from '../../containers/PrivateRoute';
// Design
import './styles.css';
class App extends Component {
render() {
return (
<Router>
<div className="App">
<Switch>
{/* A user can't go to the HomePage if is not authenticated */}
<PrivateRoute path="/" component={HomePage} exact />
<Route path="/auth/:authType/:id?" component={AuthPage} />
<Route exact path="/connect/:provider" component={ConnectPage} />
<Route path="" component={NotFoundPage} />
</Switch>
</div>
</Router>
);
}
}
export default App;
이제 인증 뷰를 만든다. 먼저 forms.json 인증보기 양식을 만든다. 이 구조는 다음 JSON과 같다.
{
"views": {
"login": [
{
"customBootstrapClass": "col-md-12",
"label": "Username",
"name": "identifier",
"type": "text",
"placeholder": "johndoe@gmail.com"
},
{
"customBootstrapClass": "col-md-12",
"label": "Password",
"name": "password",
"type": "password"
},
{
"customBootstrapClass": "col-md-6",
"label": "Remember me",
"name": "rememberMe",
"type": "checkbox"
}
]
},
"data": {
"login": {
"identifier": "",
"password": "",
"rememberMe": false
}
}
}
auth/login, auth/register는 다음 같은 수명주기를 사용한다.
componentDidMount() {
// Generate the form with a function to avoid code duplication
// in other lifecycles
this.generateForm(this.props);
}
componentWillReceiveProps(nextProps) {
// Since we use the same container for all the auth views we need to update
// the UI on location change
if (nextProps.location.match.params.authType !== this.props.location.match.params.authType) {
this.generateForm(nextProps);
}
}
양식을 만들려면 forms.json파일에서 검색한 데이터를 매핑하면 된다.
handleChange = ({ target }) => this.setState({ value: { ...this.state.value, [target.name]: target.value } });
render() {
const inputs = get(forms, ['views', this.props.match.params.authType, []);
return (
<div>
<form onSubmit={this.handleSubmit}>
{inputs.map((input, key) => (
<Input
autoFocus={key === 0}
key={input.name}
name={input.name}
onChange={this.handleChange}
type={input.type}
value={get(this.state.value, [input.name], '')}
/>
))}
<Button type="submit" />
</form>
</div>
);
}
이제 사용자 인증에 필요한 모든 보기를 작성해야 한다.
API 호출을 수행하려면 request 헬퍼를 사용한다.
handleSubmit = (e) => {
e.preventDefault();
const body = this.state.value;
const requestURL = 'http://localhost:1337/auth/local';
request(requestURL, { method: 'POST', body: this.state.value})
.then((response) => {
auth.setToken(response.jwt, body.rememberMe);
auth.setUserInfo(response.user, body.rememberMe);
this.redirectUser();
}).catch((err) => {
console.log(err);
});
}
redirectUser = () => {
this.props.history.push('/');
}
API에서 응답을 받으면 필요한 정보를 localStorageor 에 저장하고 사용자를 HomePage로 리디렉션한다.
인증 공급자 사용
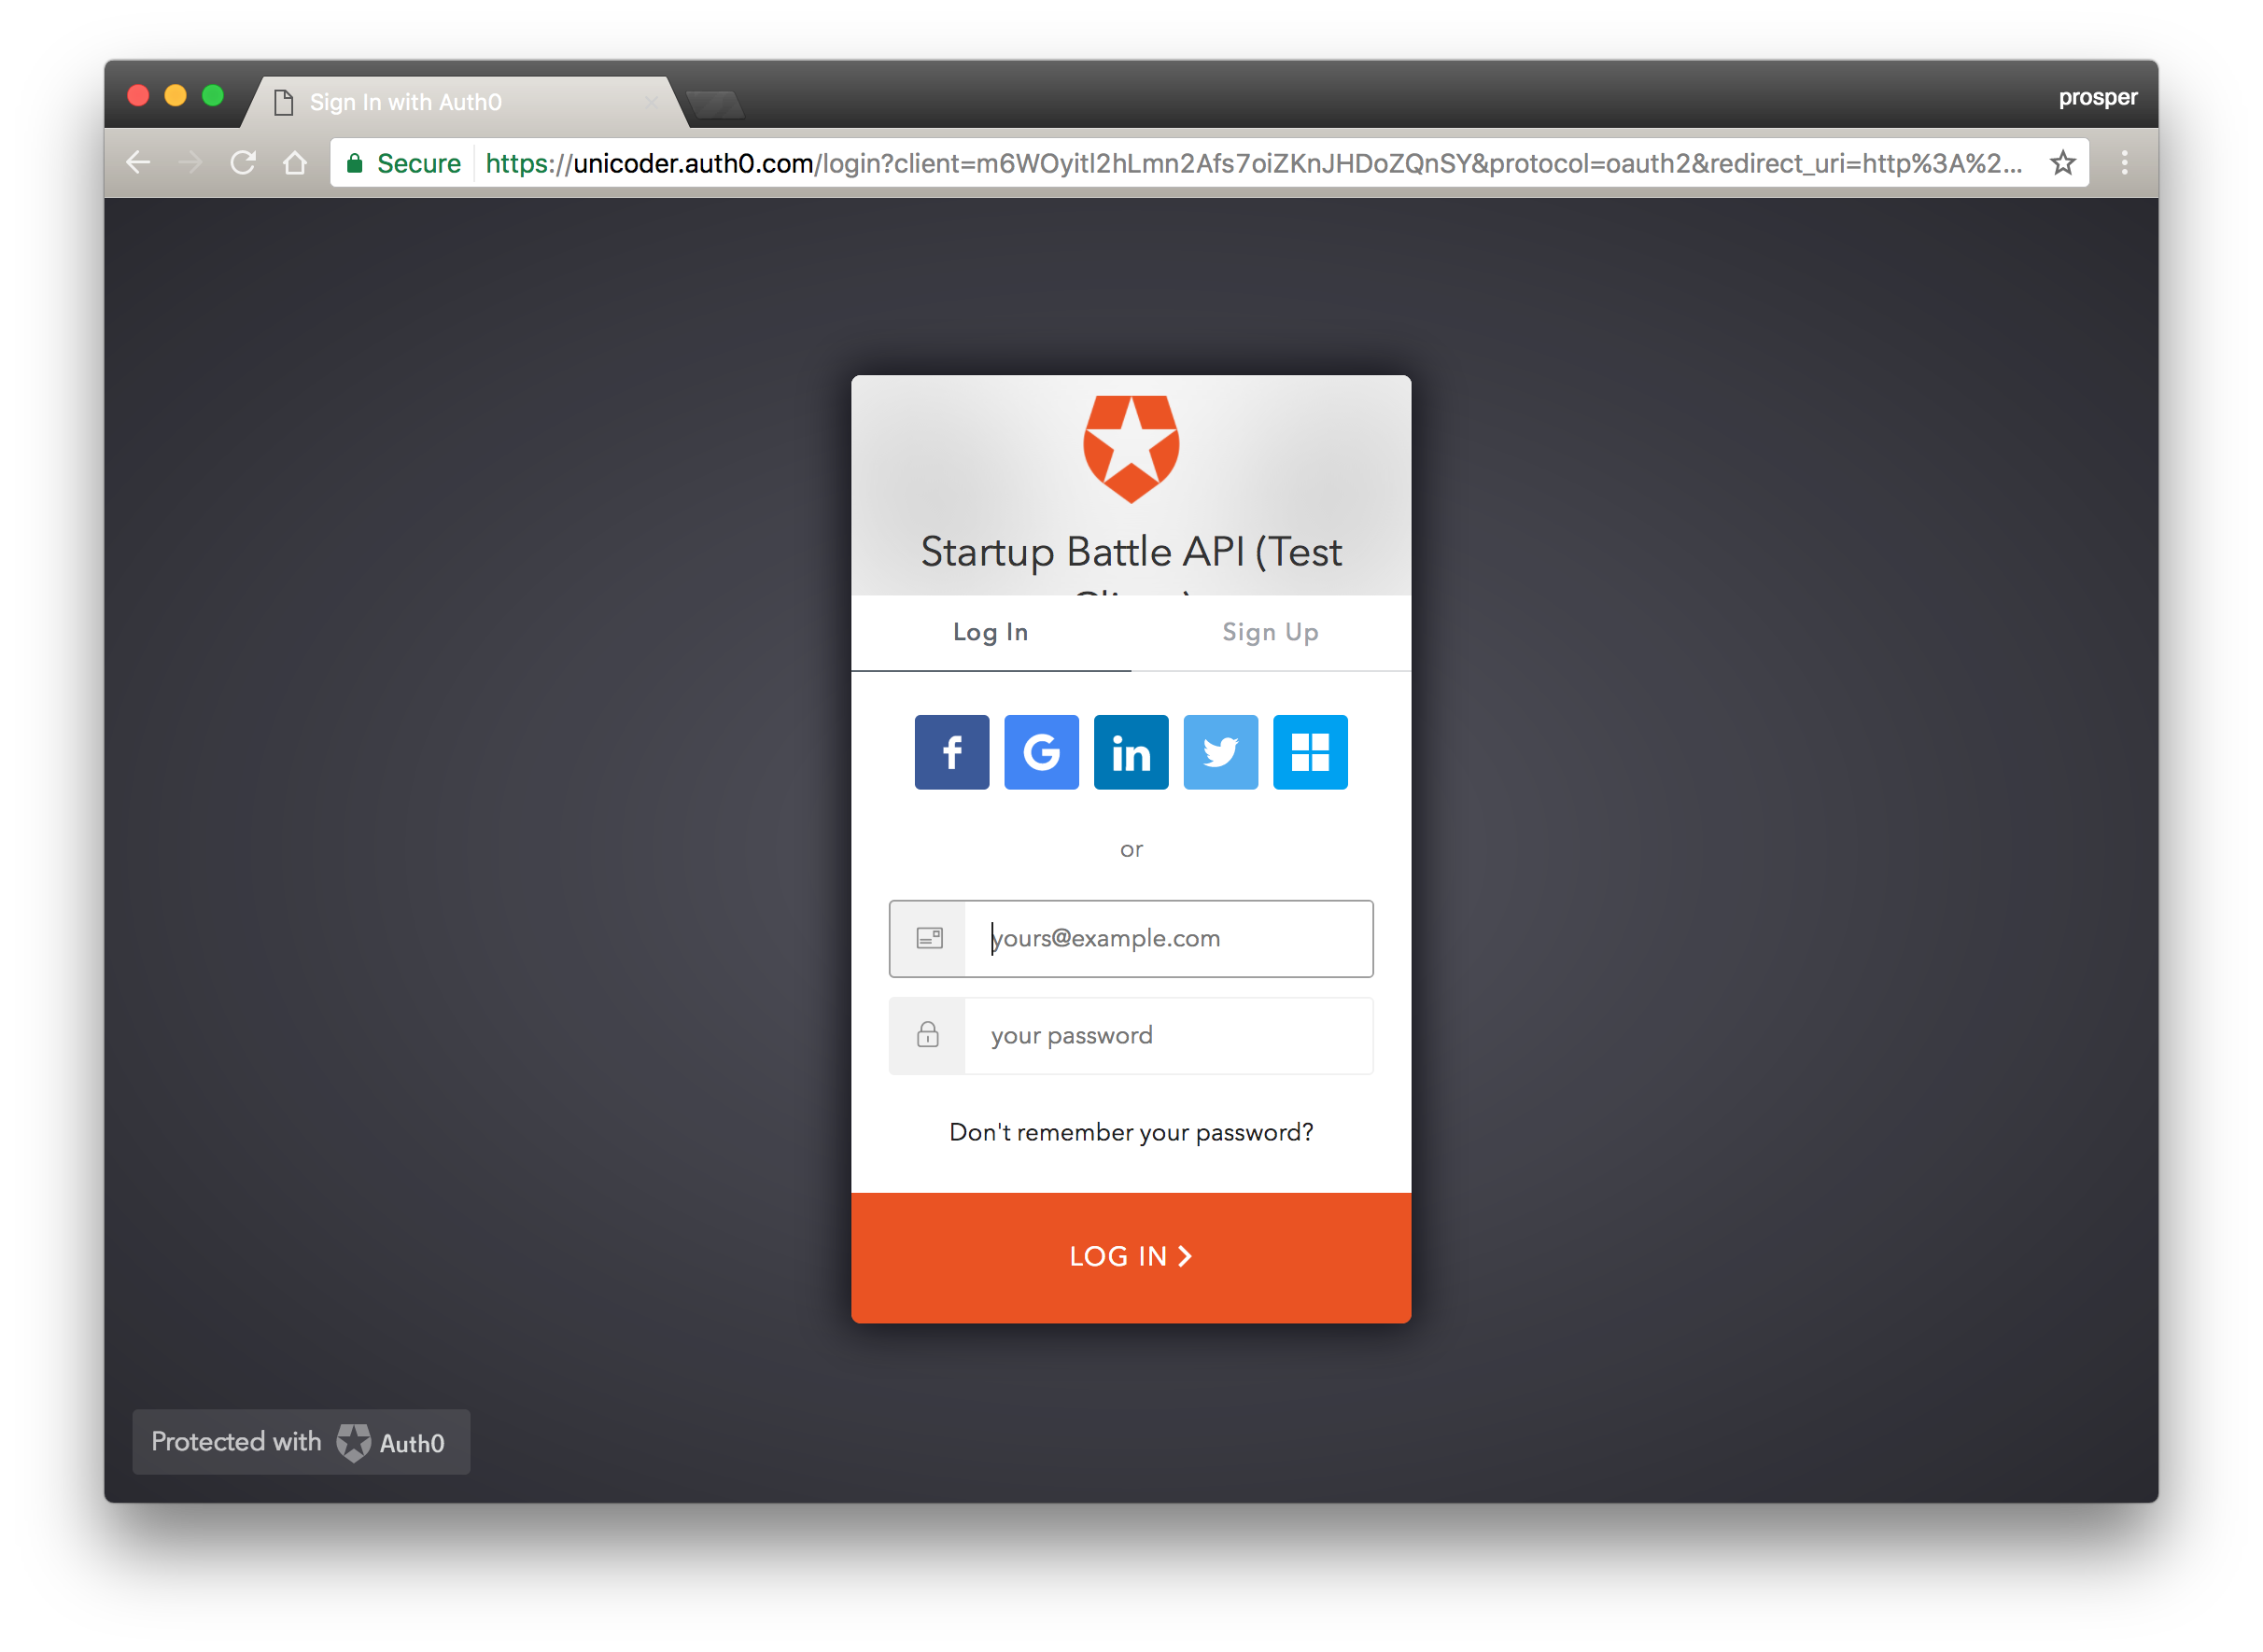
사용자가 Facebook, GitHub 또는 Google을 선택하더라도 Strapi를 사용하여 사용자를 인증하는 것은 쉽다. 이 예에서는 Facebook을 사용하는 방법을 보여준다.
흐름은 다음과 같다.
- 사용자는 Facebook으로 로그인을 클릭한다
- 앱을 승인 할 수 있도록 다른 페이지로 리디렉션한다.
- 승인되면 Facebook은 URL의 코드를 사용하여 사용자를 앱으로 리디렉션한다.
componentDidMount에서 ConnectPage컨테이너 응답에 따라 API를 호출하고 사용자를 리디렉션한다.
componentDidMount() {
const { match: {params: { provider }}, location: { search } } = this.props;
const requestURL = `http://localhost:1337/auth/${provider}/callback${search}`;
request(requestURL, { method: 'GET' })
.then((response) => {
auth.setToken(response.jwt, true);
auth.setUserInfo(response.user, true);
this.redirectUser('/');
}).catch(err => {
console.log(err.response.payload)
this.redirectUser('/auth/login');
});
}
redirectUser = (path) => {
this.props.history.push(path);
}
SocialLink 컴포넌트 구현은 다음과 같다.
/**
*
* SocialLink
*
*/
import React from 'react';
import PropTypes from 'prop-types';
import Button from '../../components/Button'
function SocialLink({ provider }) {
return (
<a href={`http://localhost:1337/connect/${provider}`} className="link">
<Button type="button" social={provider}>
<i className={`fab fa-${provider}`} />
{provider}
</Button>
</a>
);
}
SocialLink.propTypes = {
provider: PropTypes.string.isRequired,
};
export default SocialLink;
이제 AuthPage를 추가한다.
render() {
const providers = ['facebook', 'github', 'google', 'twitter']; // To remove a provider from the list just delete it from this array...
return (
<div>
{providers.map(provider => <SocialLink provider={provider} key={provider} />)}
{/* Some other code */}
</div>
);
}
- Vuejs 2 Authentication Tutorial
- Protected routes and Authentication with React and Node.js
- The Complete Guide to User Authentication with the Amplify Framework
- OAuth2 JavaScript Tutorial
- An OAuth 2.0 introduction for beginners
- Implementing OAuth 2.0 with Node.js
- OAuth with Naver (Explain)
- OAuth with Google API
댓글 없음:
댓글 쓰기