1. 개요
RGB-D 센서는 카메라 RGB 이미지와 Z축 깊이값을 취득할 수 있는 센서이다. 이 센서를 3차원 포인트 클라우드를 손쉽게 얻을 수 있다. RGB-D 센서 중 유명한 것은 마이크로소프트사에서 개발한 Kinect 센서, 인텔에서 개발한 RealSense, ASUS의 Xtion Pro 등이 유명하다.

ASUS Xtion Pro
이런 센서들은 가격이 10만원 대로 매우 싸고(레이저 기반 LiDAR 센서는 최소 수백만원에서 수천만원 이상이다), 다루기도 매우 쉽다. 다만, 데이터 취득 거리와 정밀도에 제한이 있다.

센서에서 데이터를 취득할 수 있는 라이브러리가 오픈되어 있다. 아래는 이 중 유명한 OpenNI 이다.
1. 라이브러리 설치
여기에서는 3차원 포인트 클라우드 취득을 위해, Kinect, 프로세싱, OpenNI 라이브러리를 사용하는 SimpleOpenNI를 사용한다. 각 프로그램과 라이브러리는 아래 링크에서 다운로드해서 설치한다.
2. 코딩
그리고, 다음과 같은 프로세싱 코드를 실행한다.import SimpleOpenNI.*;
SimpleOpenNI context;
float zoomF =0.3f;
float rotX = radians(180); // by default rotate the hole scene 180deg around the x-axis,
// the data from openni comes upside down
float rotY = radians(0);
PShape pointCloud;
int steps = 2;
boolean saveFile = false;
PrintWriter output;
void setup()
{
size(1024,768,P3D);
//context = new SimpleOpenNI(this,SimpleOpenNI.RUN_MODE_MULTI_THREADED);
context = new SimpleOpenNI(this);
if(context.isInit() == false)
{
println("Can't init SimpleOpenNI, maybe the camera is not connected!");
exit();
return;
}
// disable mirror
context.setMirror(false);
// enable depthMap generation
context.enableDepth();
context.enableRGB();
// align depth data to image data
context.alternativeViewPointDepthToImage();
context.setDepthColorSyncEnabled(true);
stroke(255,255,255);
smooth();
perspective(radians(45),
float(width)/float(height),
10,150000);
}
void draw()
{
// update the cam
context.update();
background(0,0,0);
translate(width/2, height/2, 0);
rotateX(rotX);
rotateY(rotY);
scale(zoomF);
PImage rgbImage = context.rgbImage();
int[] depthMap = context.depthMap();
int steps = 4; // to speed up the drawing, draw every third point
int index;
PVector realWorldPoint;
color pixelColor;
strokeWeight((float)steps/2);
translate(0,0,-1000); // set the rotation center of the scene 1000 infront of the camera
if(saveFile)
output = createWriter("PointCloud.txt");
PVector[] realWorldMap = context.depthMapRealWorld();
beginShape(POINTS);
for(int y=0;y < context.depthHeight();y+=steps)
{
for(int x=0;x < context.depthWidth();x+=steps)
{
index = x + y * context.depthWidth();
if(depthMap[index] > 0)
{
// get the color of the point
pixelColor = rgbImage.pixels[index];
stroke(pixelColor);
// draw the projected point
realWorldPoint = realWorldMap[index];
vertex(realWorldPoint.x,realWorldPoint.y,realWorldPoint.z);
// make realworld z negative, in the 3d drawing coordsystem +z points in the direction of the eye
if(saveFile == true) // save file
{
String sData;
sData = "" + realWorldPoint.x;
sData = sData + "," + realWorldPoint.y;
sData = sData + "," + realWorldPoint.z;
output.println(sData);
}
}
}
}
endShape();
if(saveFile)
{
output.flush();
output.close();
saveFile = false;
}
// draw the kinect cam
strokeWeight(1);
context.drawCamFrustum();
}
void keyPressed()
{
switch(key)
{
case ' ':
context.setMirror(!context.mirror());
println("Mirror");
break;
}
switch(keyCode)
{
case ENTER:
case RETURN:
saveFile = saveFile == true ? false : true;
if(saveFile == true)
println("save file");
else
println("not save");
break;
case LEFT:
rotY += 0.1f;
break;
case RIGHT:
// zoom out
rotY -= 0.1f;
break;
case UP:
if(keyEvent.isShiftDown())
zoomF += 0.02f;
else
rotX += 0.1f;
break;
case DOWN:
if(keyEvent.isShiftDown())
{
zoomF -= 0.02f;
if(zoomF < 0.01)
zoomF = 0.01;
}
else
rotX -= 0.1f;
break;
}
}
3. 3D 포인트 클라우드 획득
프로세싱 스케치를 실행하면, 다음과 같이, RGB-D센서로 부터 획득한 3D 포인트 클라우드를 확인할 수 있다.

엔터 키를 누르면, "PointCloud.txt" 파일로 포인트 클라우드가 저장된다.
4. 수치 값 확인
라이노에서 거리 값 등을 확인해 보기 위해, 저장된 파일의 데이터를 점 객체로 추가하는 기능을 추가한다. 이를 위해, 간단한 라이노 스크립트 (RhinoScript)를 작성해 본다. 다음과 같이 에디터를 실행해, 코드를 입력한다.

소스 코드는 다음과 같다.
Option Explicit
Call Main()
Sub Main()
Dim file_path
file_path = Rhino.OpenFileName("Open", "Text Files (*.txt)|*.txt|All Files|*.*")
If (IsNull(file_path)) Then Exit Sub
Dim contents
Dim arrPoint
contents = Rhino.ReadtextFile(file_path, True, True)
Dim i
For i = 0 To UBound(contents)
arrPoint = Rhino.Str2Pt(contents(i))
If (IsNull(arrPoint) = False) Then
Call Rhino.addPoint(arrPoint)
End If
Next
End Sub
실행하고, 저장된 파일을 선택하면, Rhino.addPoint 메소드를 이용해, 포인트 객체가 생성된다. 다음은 생성된 포인트 객체들이다.


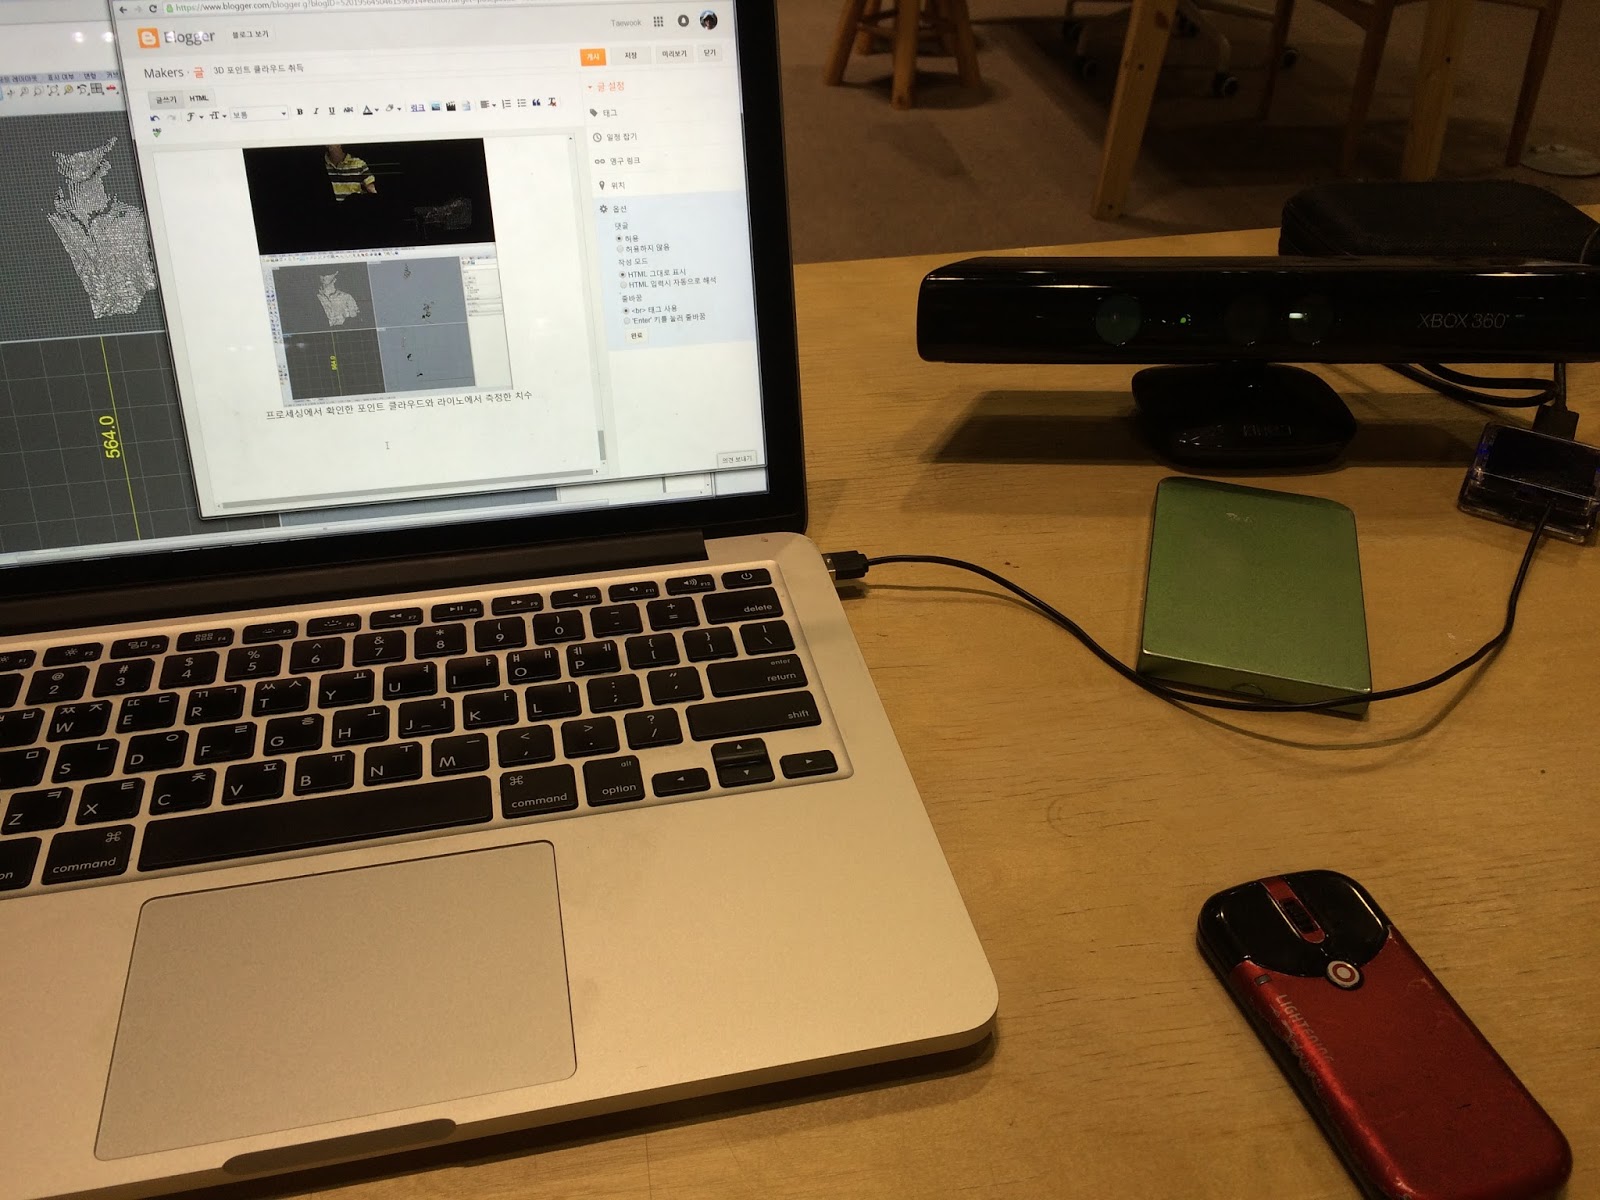
프로세싱에서 확인한 포인트 클라우드와 라이노에서 측정한 치수
3. 정리
간단히 포인트 클라우드를 획득하여, 라이노에서 가시화해 보았다. 이를 이용하면, 매우 간단하고 저렴한 3차원 이미지 스캔 및 모델링 시스템을 개발할 수 있다. 만약, 드론과 같이 진동이 많은 흔들리는 환경이라면, IMU나 정합 정고리즘을 적용해, 오차를 줄일 수 있다.
댓글 없음:
댓글 쓰기